FM 19 Add-On Spotlight – Rich Text Editor

by Joe Ranne


This will be the third installment of our Filemaker Add-On series, where we review and implement each of the free FileMaker Add-ons offered for FileMaker 19.1 in the Claris Marketplace.

In this edition of the FileMaker Add-on spotlight, we’re taking a deep look at the Rich Text Editor. If you’re familiar with web development, rich text editors have been around for years, allowing users to easily apply rich text in a browser for a “What-You-See-Is-What-You-Get” (WYSIWYG) interface. Prior to FileMaker 19.1, users could format text in fields, but there was no way for the developer to grab that formatted text and use it in a browser-friendly environment. With the Rich Text Add-on, developers can now take the HTML output of the rich text and apply it, which opens up a world of possibilities for any solution.

Requirements

The requirements for the Rich Text Add-on are minimal, but it’s important to have a couple requirements taken care of before adding the add-on to a layout:

  • Make sure you’ve updated to at least FileMaker Pro 19.1.3

  • Prepare a layout that will hold the add-on Web Viewer object (at least 480×291 pt).

  • Define a text field to store the output of the editor and place it on the layout. The field object can exist off-screen.

Installation

The engineers at FileMaker have really done a spectacular job of making this installation as easy as possible. To install this add-on:

  • Enter layout mode

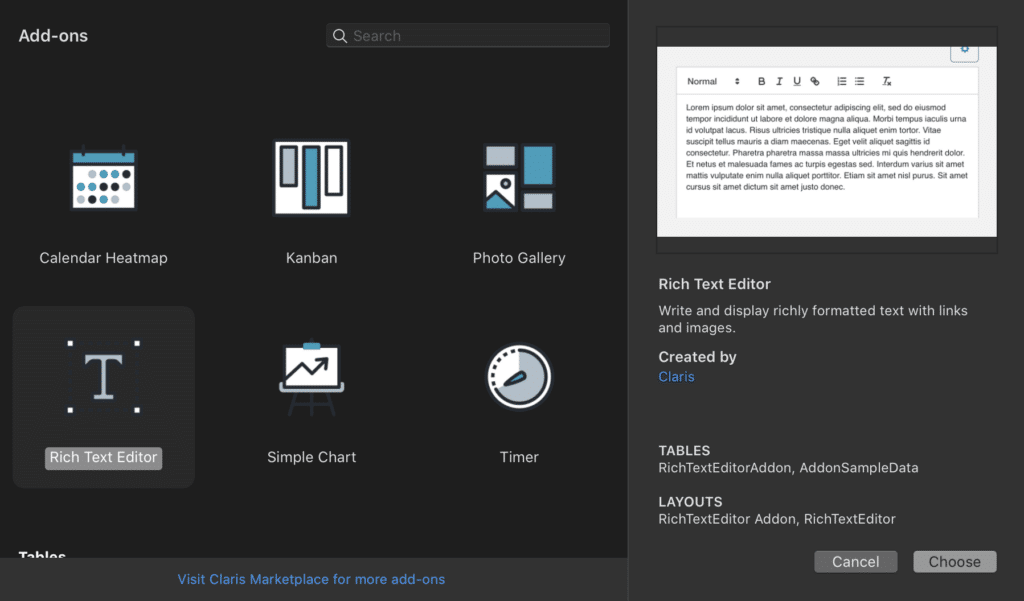
  • Go to the Add-Ons tab

  • Click the + button at the bottom-left

  • Select the Rich Text Editor

  • Click “Choose”

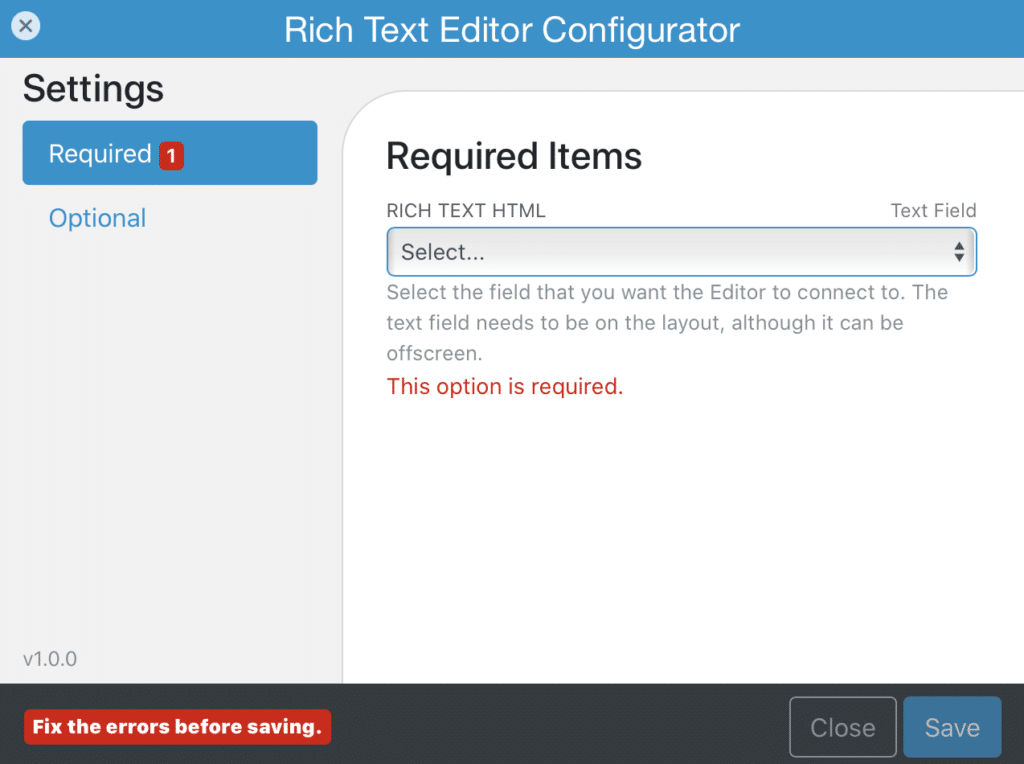
Once the add-on is installed, simply drag-and-drop it onto the prepared layout. Once you enter back into browse mode, the webviewer object will load and kick-off the configuration process, where you’ll need to select the field that will store the HTML output of the editor.

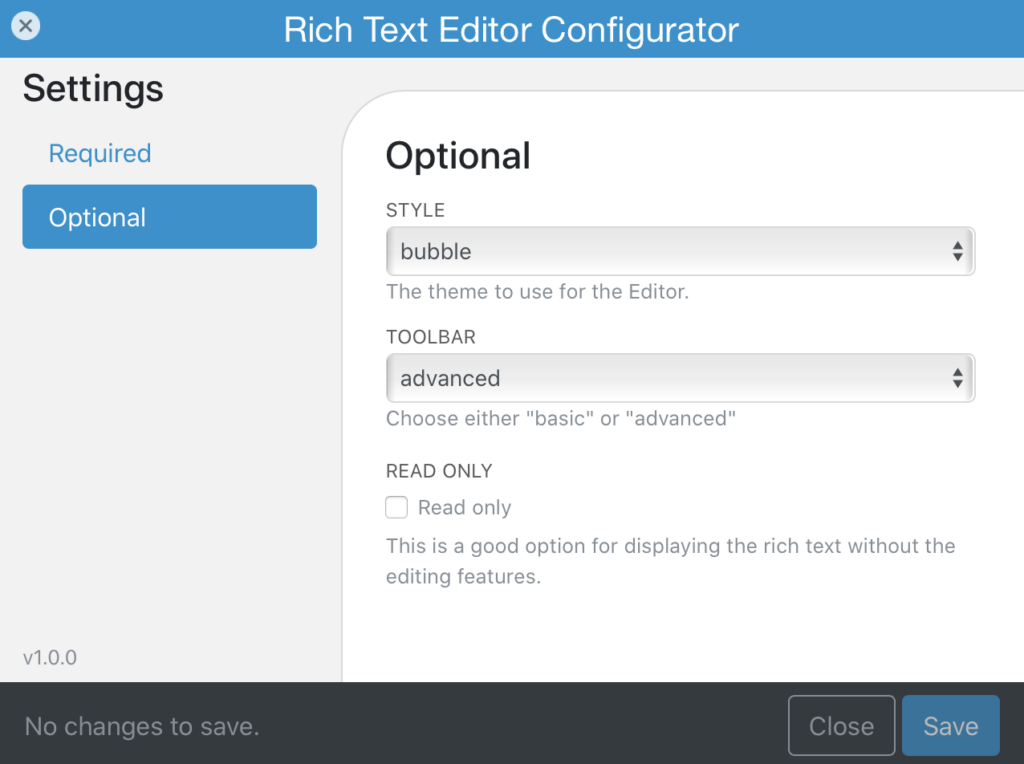
From there, you can configure the optional settings, Style and Toolbar type. You can also choose to put the Rich Text editor into “Read Only” mode for displaying the rich text without the editing features.

Using the Rich Text Editor

Once the add-on is configured, it’s immediately ready for use. Users can begin to enter data into it as if it were a normal field on a layout. The main difference is in how the user interacts with the text in the field. If the add-on is configured as a “bubble” style, users will need to double-click in order to see the text formatting toolbar. Otherwise, the text formatting toolbar will always show at the top of the field object. The add-on also gives users the ability to copy and paste formatted text from another source, like Word or a browser. If the clipboard can copy the formatted text, the add-on will keep the formatting, including links, when it’s pasted in.

Implementing Into Your Solution

The rich text add-on really opens up the possibilities when it comes to how users can interact with text in FileMaker. For this example, we installed the add-on into our HTML E-Mail demo file. This demo allows users to generate an HTML-formatted email using a WYSIWYG-style interface, then sends that email via “Insert from URL” using the MIME protocol. This demo uses the “bubble” style interface in the add-on. To use the add-on, enter your text into the “Body” field of the template, select the text you would like to apply rich text to, then make your desired changes using the pop-up interface.

Try it out!

With the addition of the rich text add-on, users can now create and send rich text emails from FileMaker without the use of any plugins or a third-party service. Feel free to download the demo file for yourself and see it in action! As always, if you have any questions or would like assistance installing this add-on into your solution, please submit the contact form below.

9 thoughts on “FM 19 Add-On Spotlight – Rich Text Editor”

  1. Hi, is there a way to store the non-rich text version of a rich-text field (in a separate field than the source HTML field)?

    1. Hi Serge,

      By default, the RTE add-on does not store the text-only field data. Using “GetLayoutObjectAttribute”, you could grab that data, then parse out the necessary text values. The MBS plugin also has a function (WebView.Copy) which does exactly that. Another option would be to add a javascript call-back in the web viewer with the text as the parameter.

      Hope this helps!

  2. Hi. To my chagrin, I’ve just discovered this RTE. I could have seriously used it a month ago when I programmed something that I don’t have to time to return to now.

    Anyway, it’s working. But there is a difference between the RTE I put on a page and the one that appears in the Tasks layout of the “create new … try the quick start experience.” The blue configuration button is not visible. I had assumed that after configuration it would disappear. Tho I’m not sure how the configuration would then be changed! I also found that I could only add the RTE from the Add ons list on the left if the field that is going to use it actually on the layout. I’m using FM 19.1.1.83. Thanks for any insights you might be able to offer.

  3. Is it possible to apply the etitor to a field in another table that is connected via a relation? The field is of course also in the layout. It seems to me that this is excluded. But why?
    Is there a way to omit the settings button and use a script to apply it? Could this possibly solve the problem?
    Best regard Oliver

    1. Hi Oliver – I had this same question, and have a solution.

      First, I made a global text field in my current context and hooked the RTE to it during configuration.

      In the HTML field that the RTE drops onto your layout, there will be a UUID listed.

      Go into the “RichTextEditor Save Data” script, and add an IF block like so:

      If [ $AddonUUID = “YOUR-UUID-GOES-HERE” ]
      Set Field [ ExternalTable::Desired_TextField ; JSONGetElement ( $data ; “html” ) ]
      End If

      Hope this helps!

      1. I also have a script trigger on related record load that puts the contents of my related field into my local global field. Hope that’s clear.

      2. Hi Oliver,

        The rich-text editor is designed to be applied to one field at a time. In theory, you should be able to apply it to a number of different fields on the same layout. For this demonstration, we chose to only apply it to the “Body” field, since that’s the only field in this demo that required the rich-text add-on.

        The settings button is included with the rich-text add-on, and is specific to that instance of the add-on. Each add-on added to a solution will have it’s own specific ID assigned to it, so the settings button sets the configuration for that specific instance of the add-on.

        Since add-ons are new to the FileMaker scene, we’re discovering new use-case scenarios all the time. We’d be happy to help implement any of these ideas into your solution.

  4. I just downloaded the sample file. Unfortunately it doesn’t work for me.
    Is the demo file supposed to be locked ? Cannot find admin password 🙁
    Best regards
    Lars

    1. Hi Lars,

      What part of the demo doesn’t work? Are you able to open the file using FM 19.1.3 or higher?

      The demo is intended to be for demonstration only. If there is a specific feature in the demo that you would like to implement, we would be more than happy to assist with the integration.

Leave a Reply

Your email address will not be published. Required fields are marked *